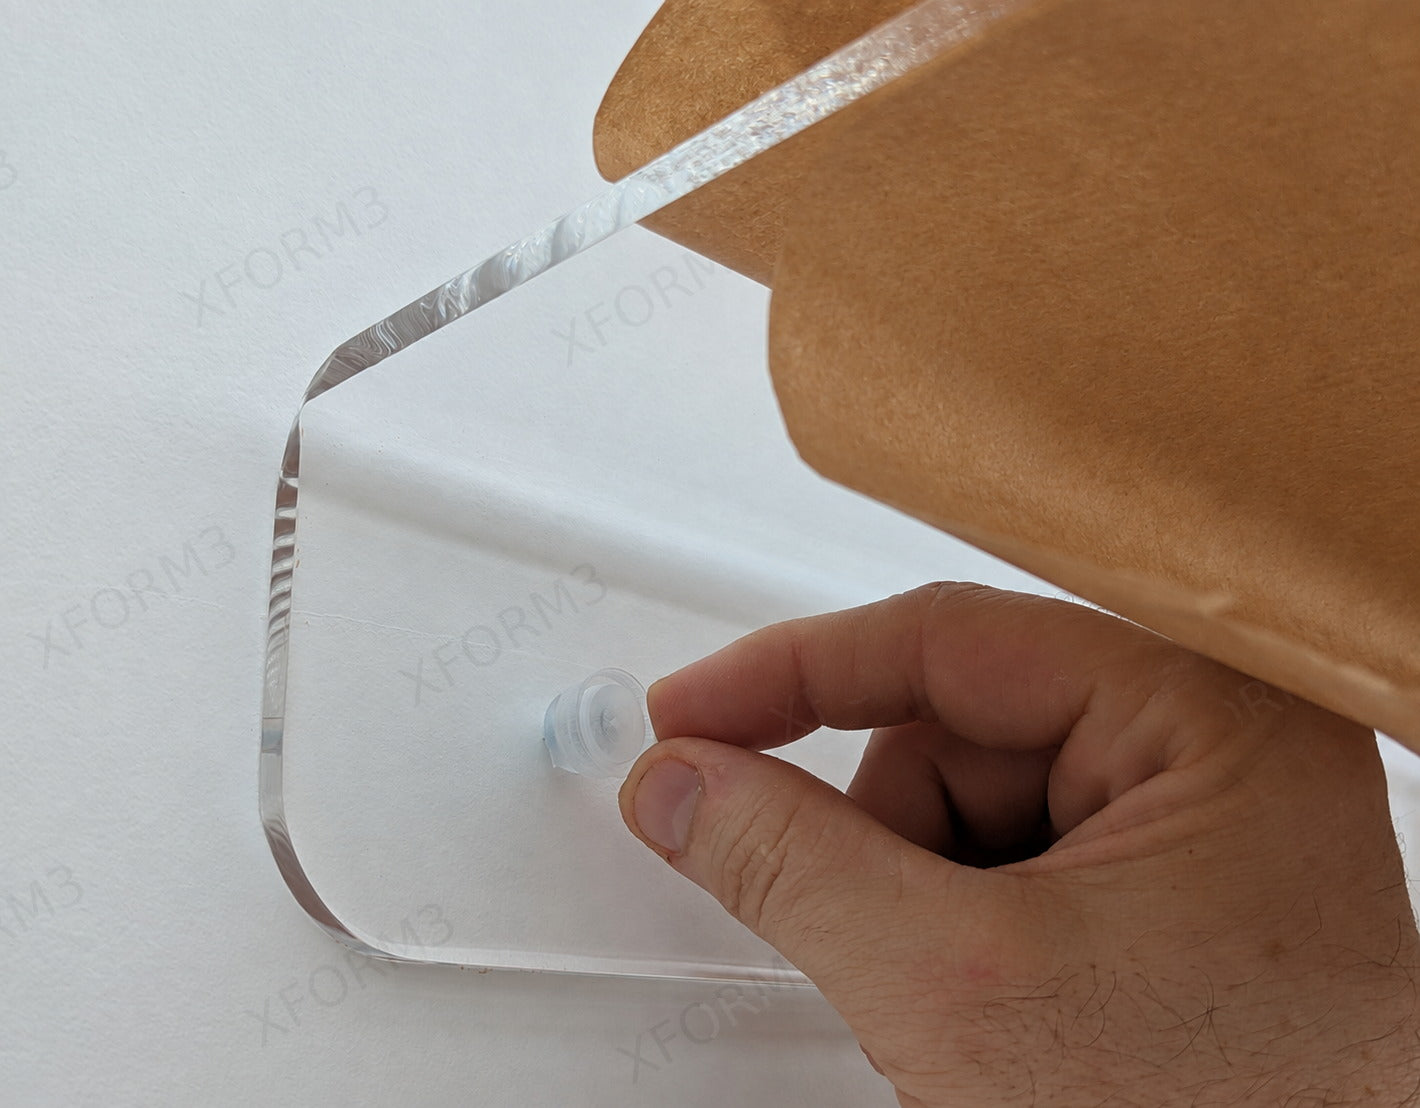
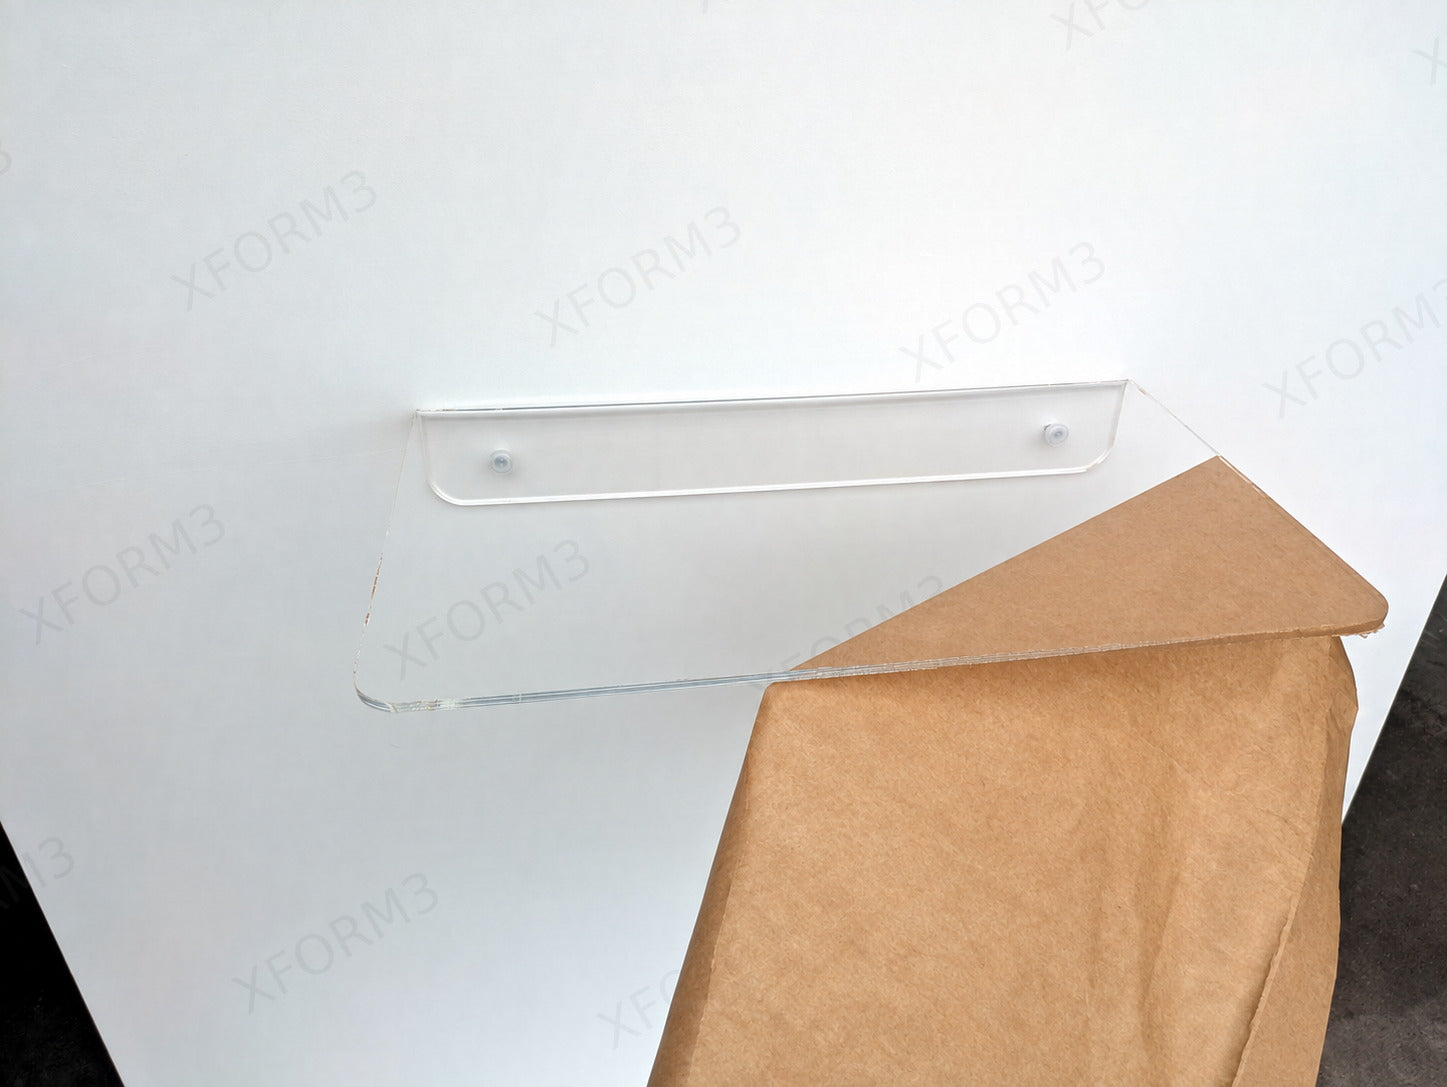
Set out the parts, protect the acrylic while you work, and follow the mounting sequence below. Keep the film on until the shelf is secure.
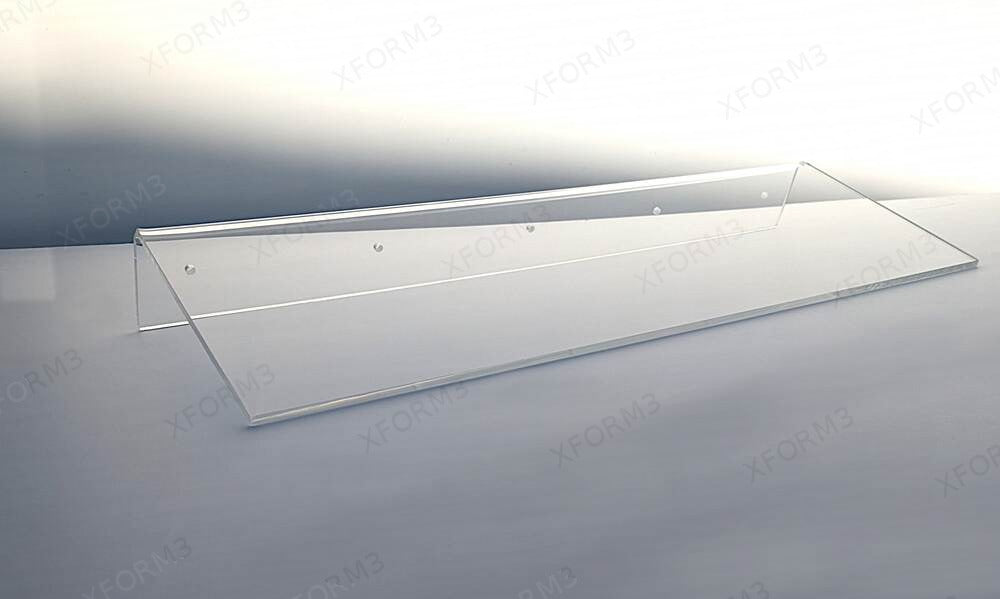
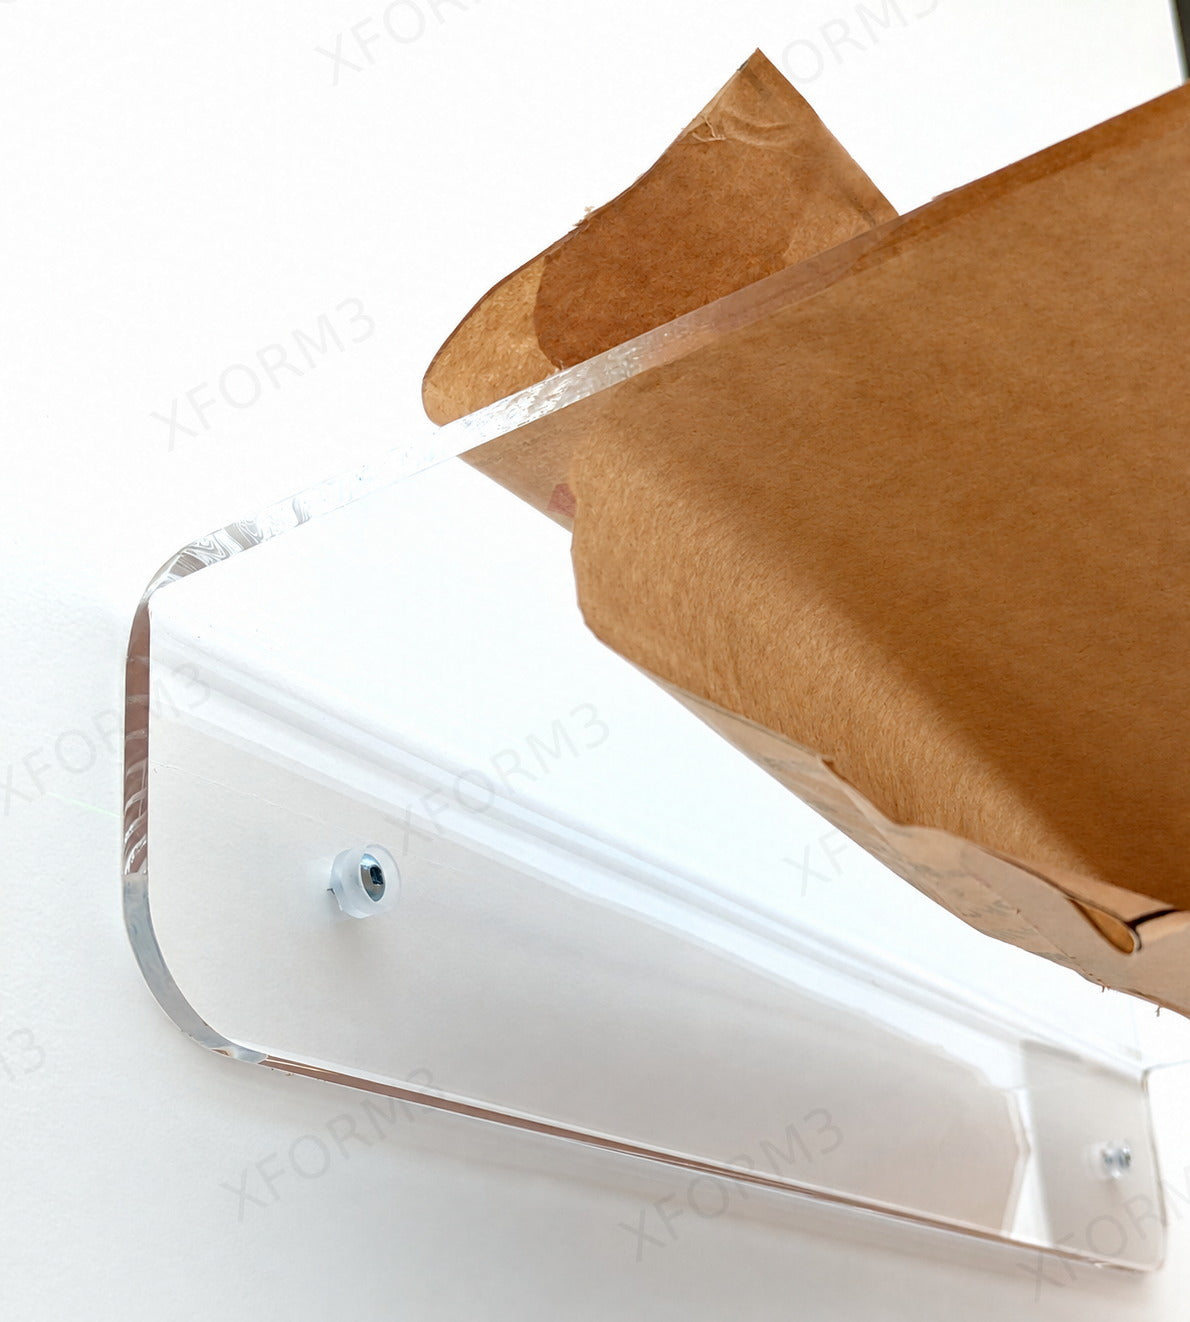
Actual shelf photo. Hole patterns vary with shelf size and configuration.
⚠
Choose a safe, visible position
Clear acrylic can be hard to notice. Keep the shelf out of walking paths and away from face or eye level where someone could bump into it. Take extra care around children and pets. Check that exposed edges are smooth and rounded, and do not use a shelf with a sharp or chipped edge.
Before you start
Set out the shelf, hardware, and tools
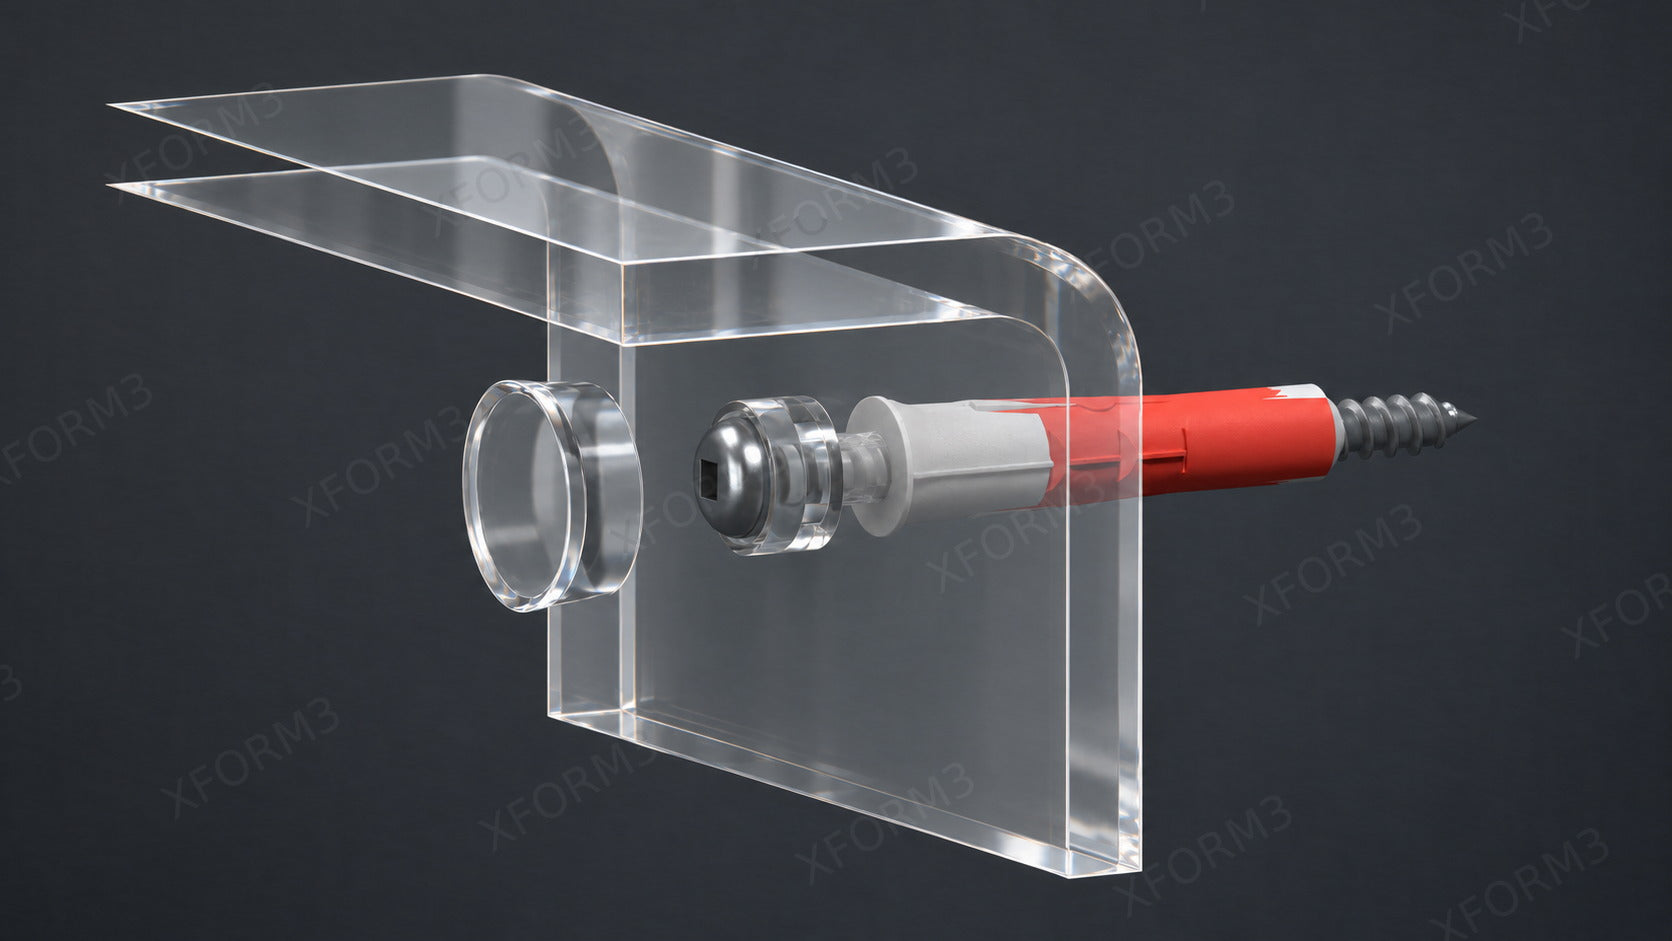
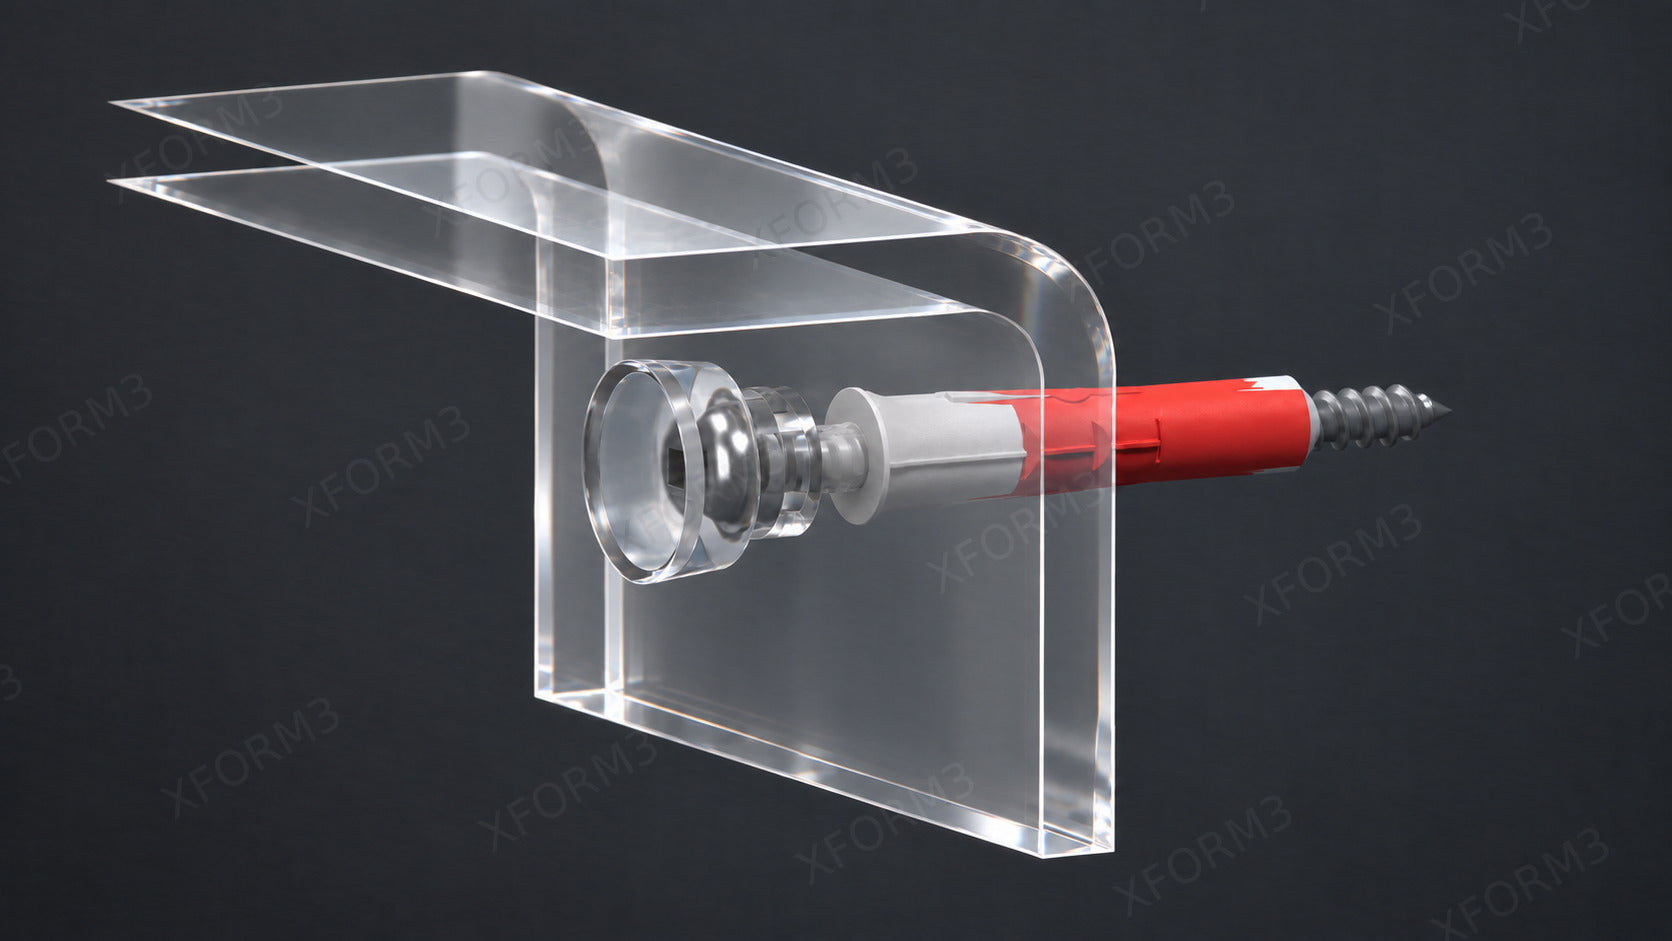
Check the hardware supplied with your order. The assembly view shows where each part sits. The images below show the parts and tools separately so you can identify each one before drilling.
How the mounting parts fit
This close-up uses the actual FreeCAD shelf, screw, acrylic washer, cover cap, and anchor models. The wall is omitted so you can see the full fastener path.
ROOM SIDEWALL SIDE12345
1
Fischer DuoPower 8 × 40 anchorUse where this anchor suits the wall. No anchor in a stud.
2
Clear shelf lipSeats flat against a clean wall.
3
Acrylic cup washerFits into the shelf mounting hole.
4
#10 × 2½ in screwThe head rests inside the cup.
5
Cover capPress on only after the screw is secure.
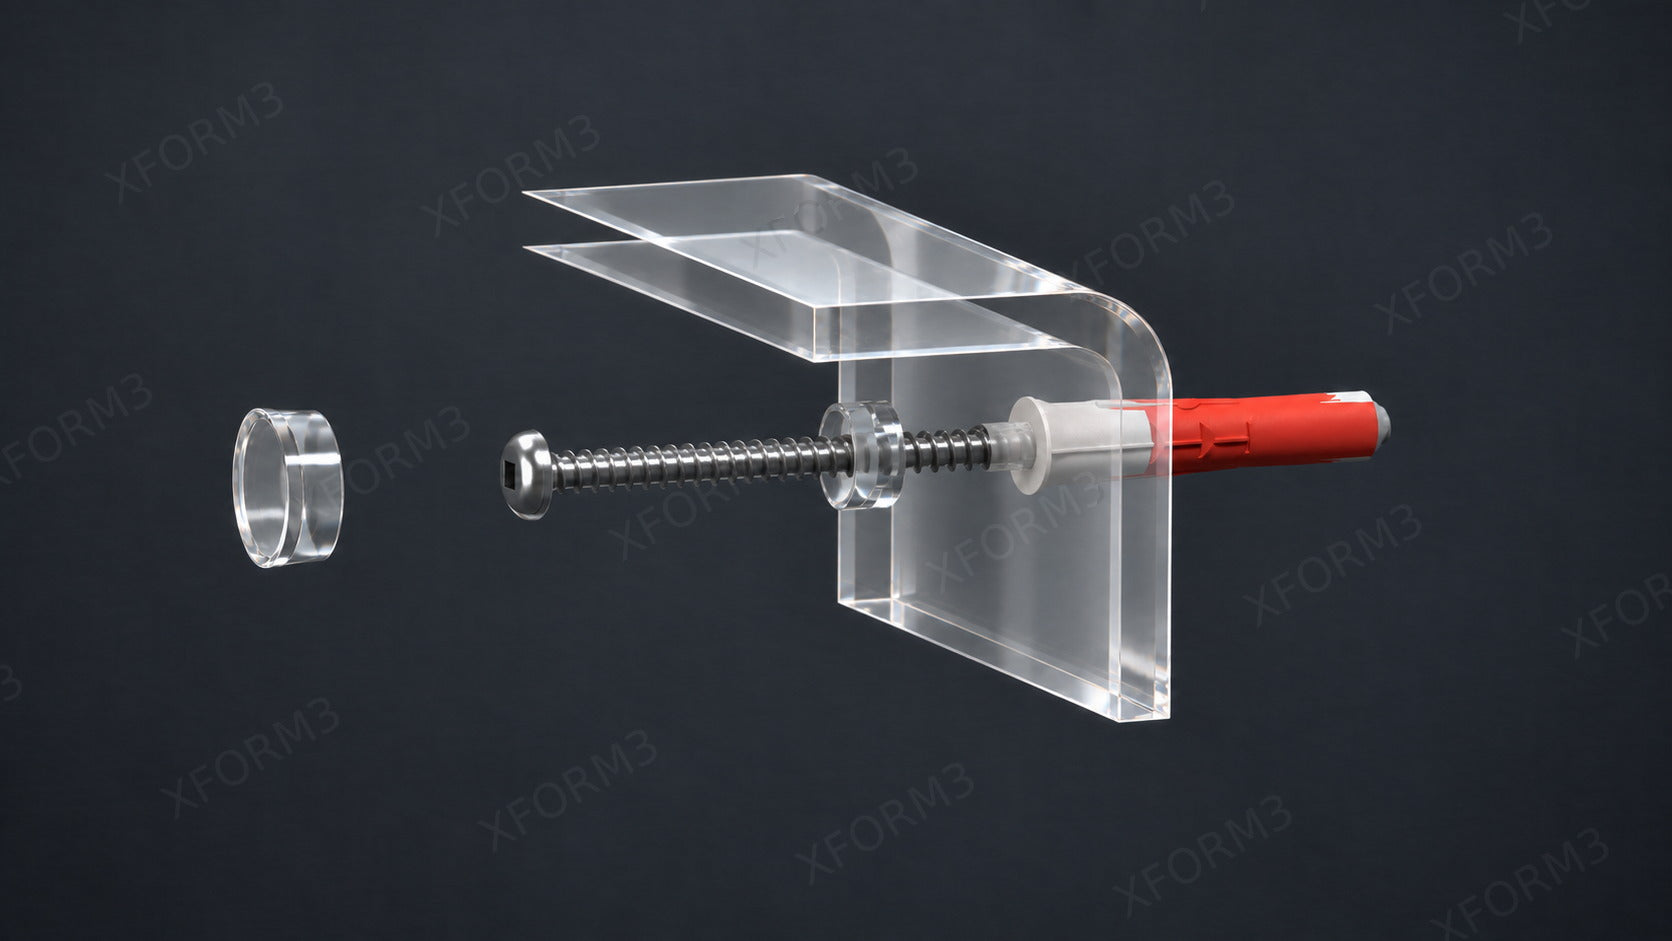
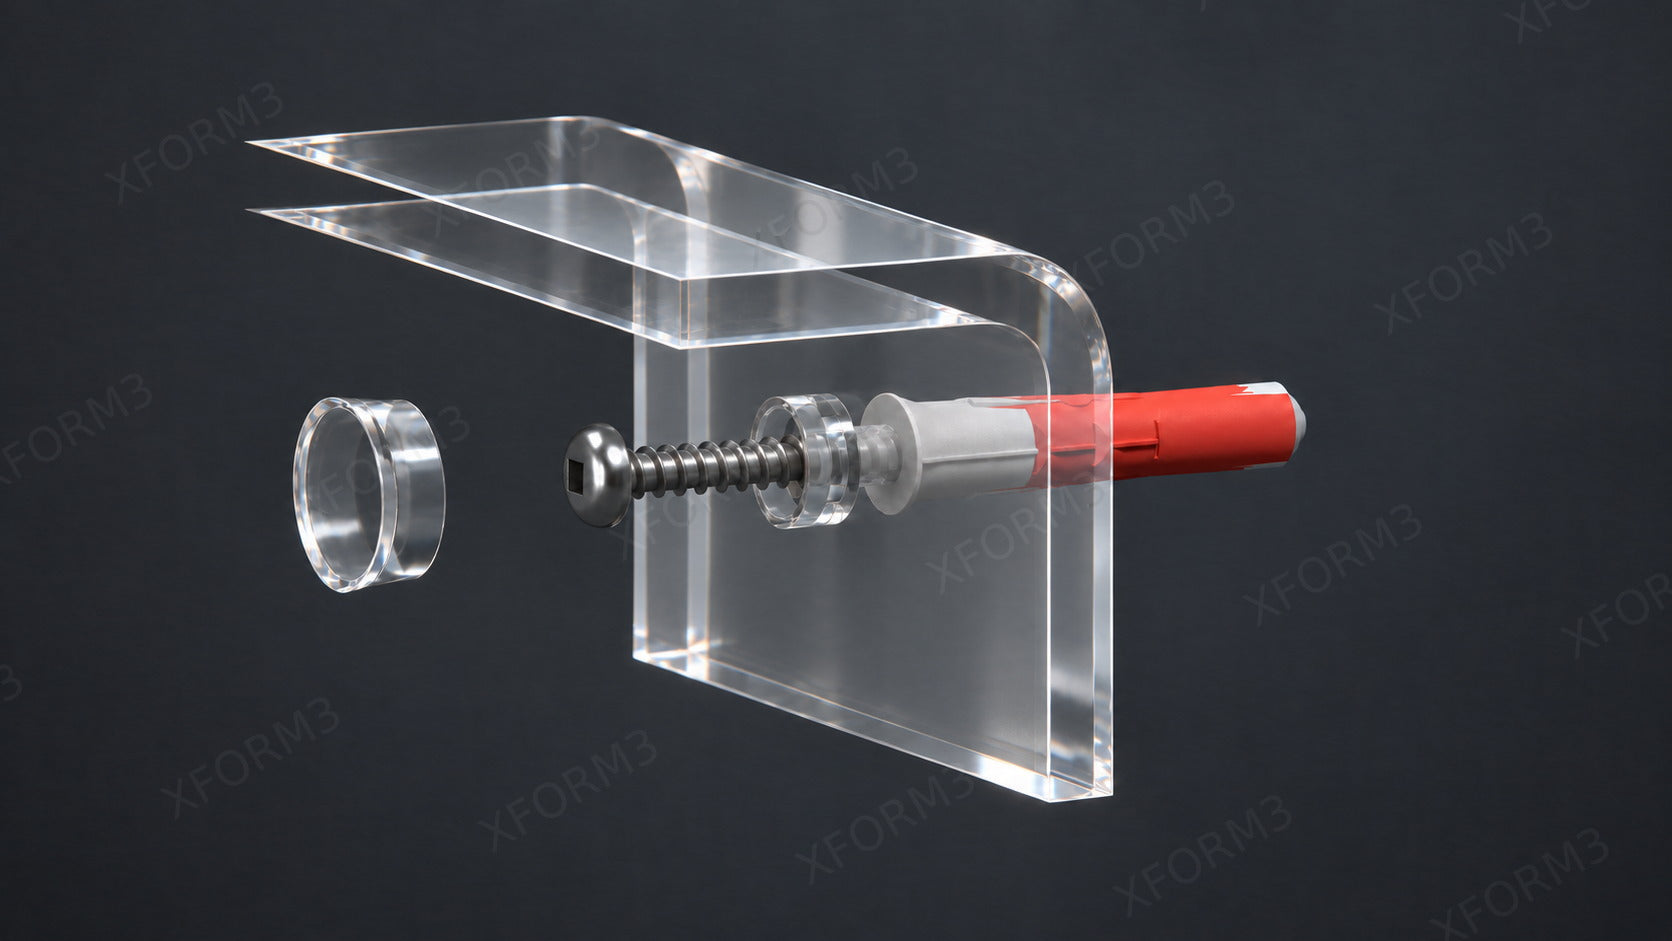
1. Align the partsThe cup washer sits in the lip. Keep the cap aside and aim the screw through the washer toward the wall fixing.2. Insert the screwDrive the screw through the cup washer into the prepared fixing. Stop when secure, without crushing the acrylic.3. Fit the coverAfter fastening, align and press the clear acrylic cap over the screw head.
Mounting parts
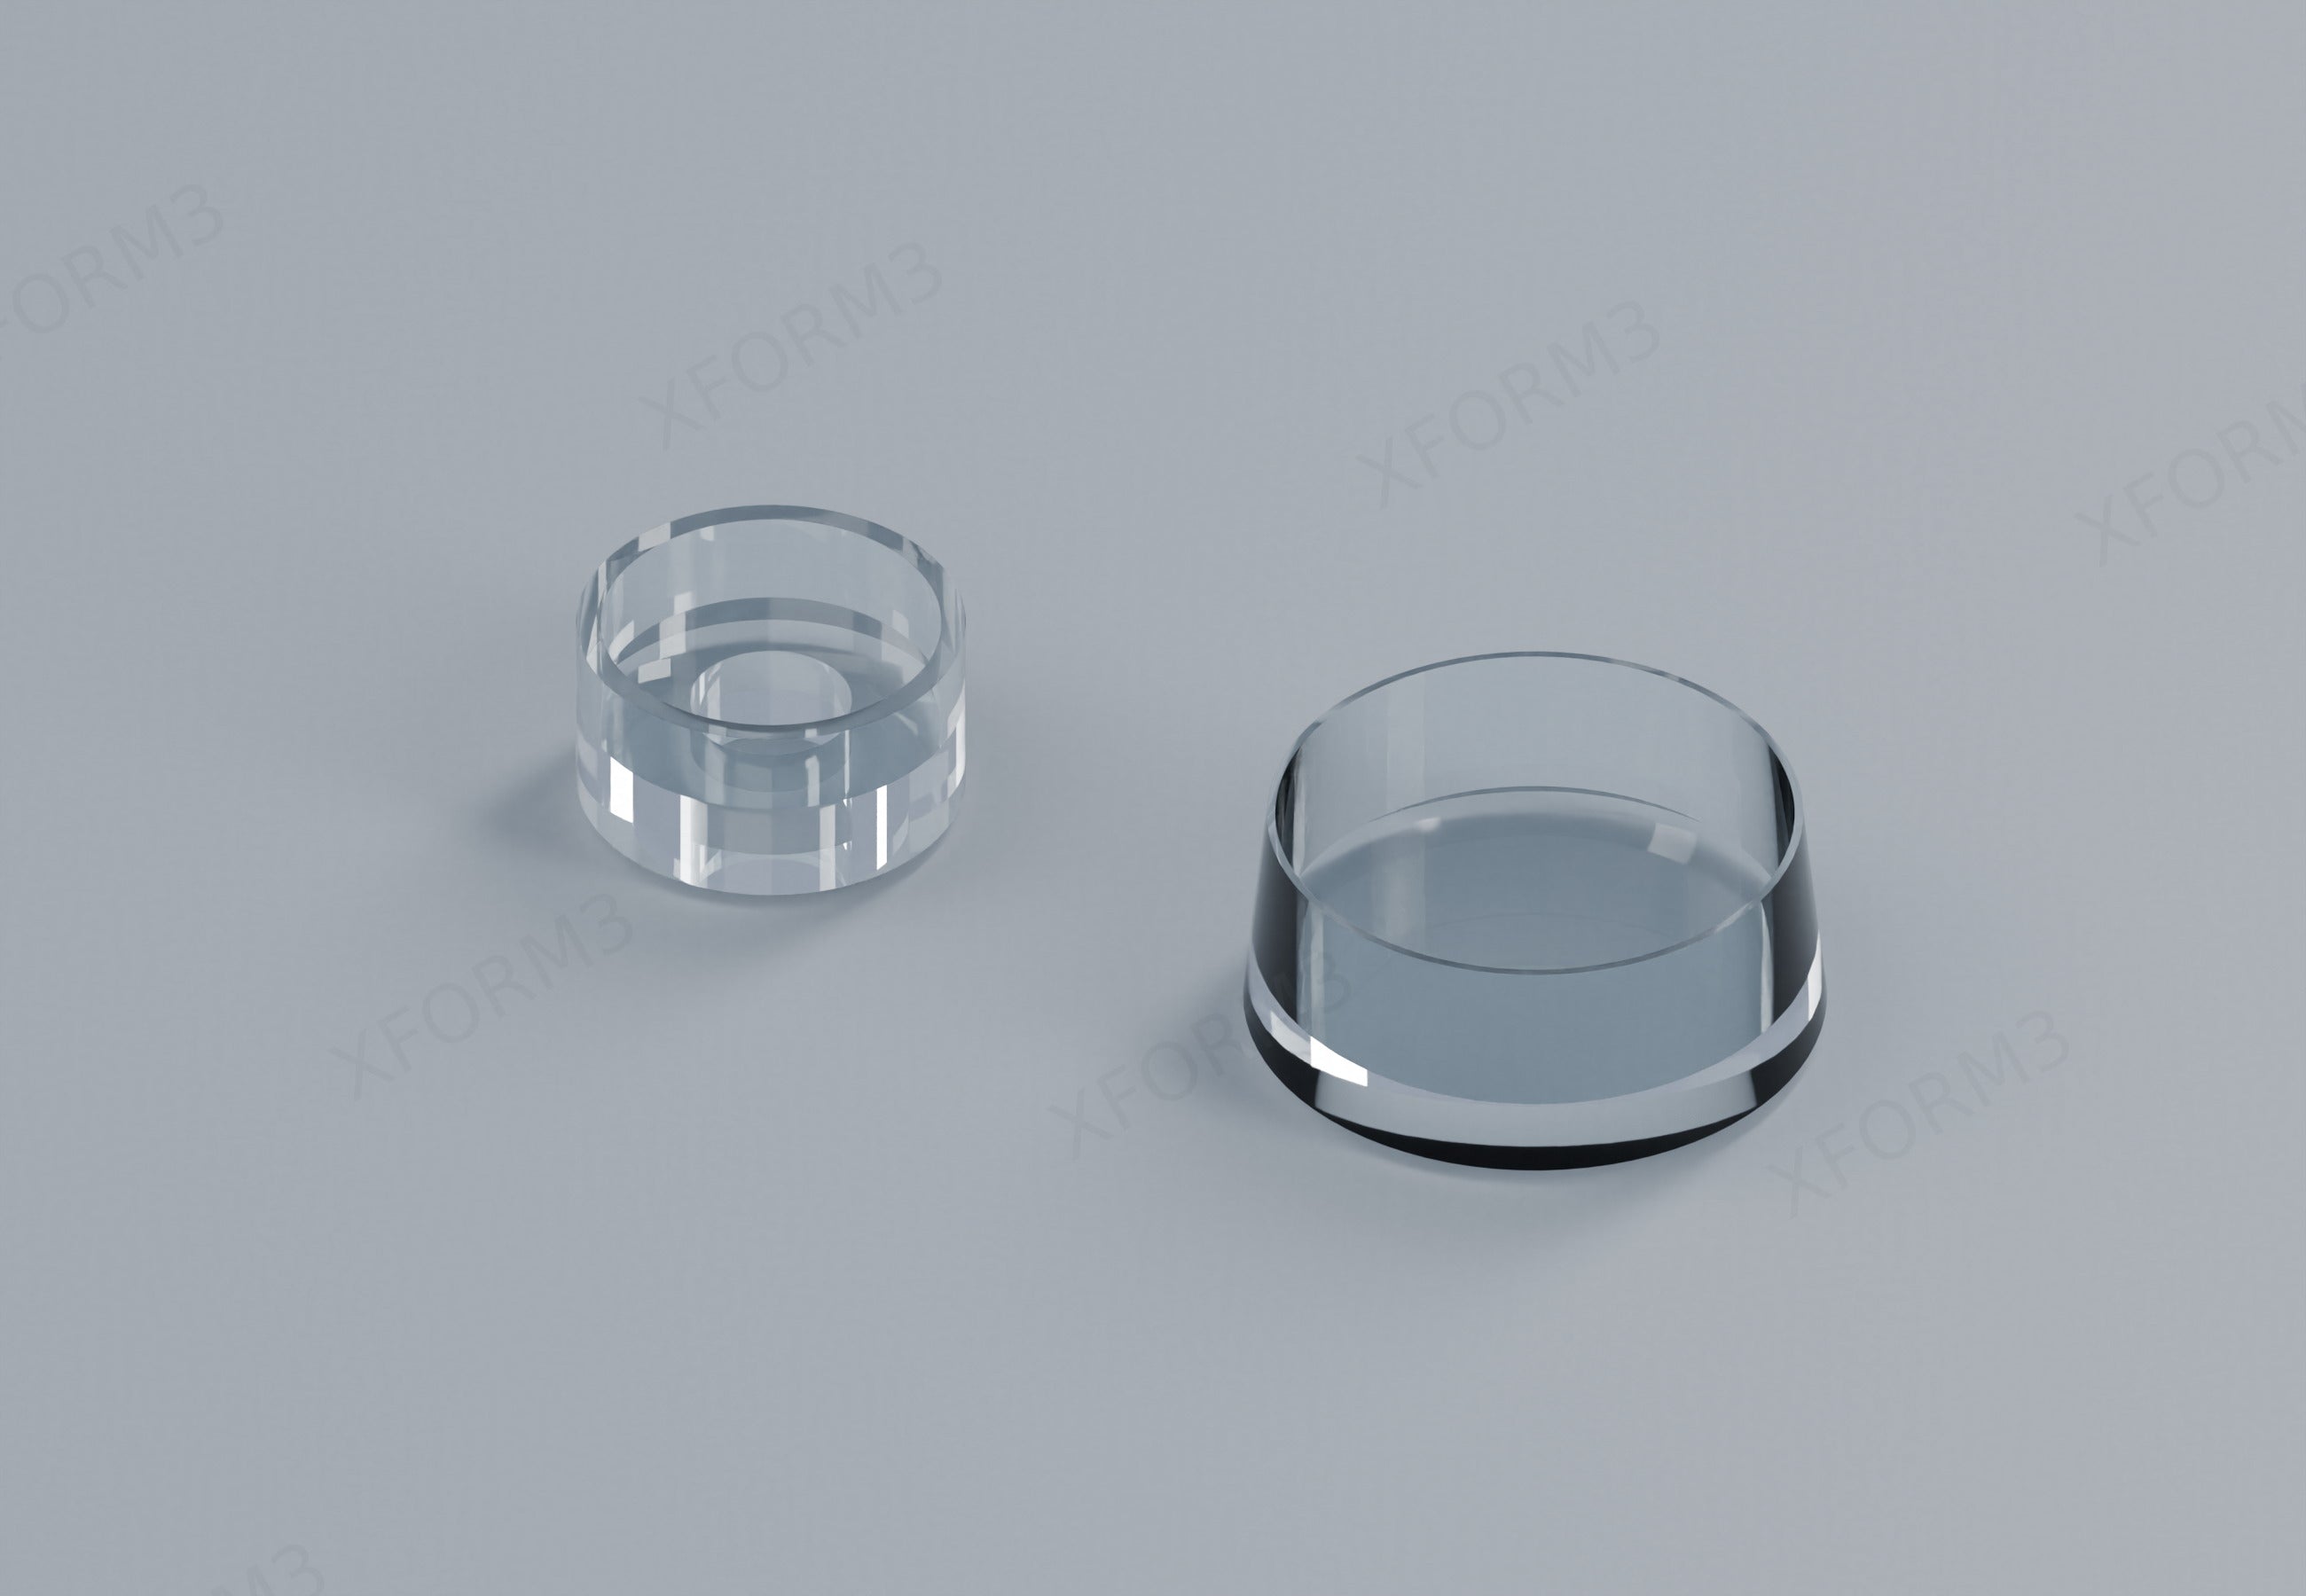
Actual acrylic washer and cover cap models above. The full hardware set includes:
1#10 × 2½ in mounting screw
2Acrylic cup washer
3Acrylic cover cap
4Fischer DuoPower 8 × 40 anchor
The washer and cap are rendered from the supplied FreeCAD models. Screw drive and anchor type may vary by order.
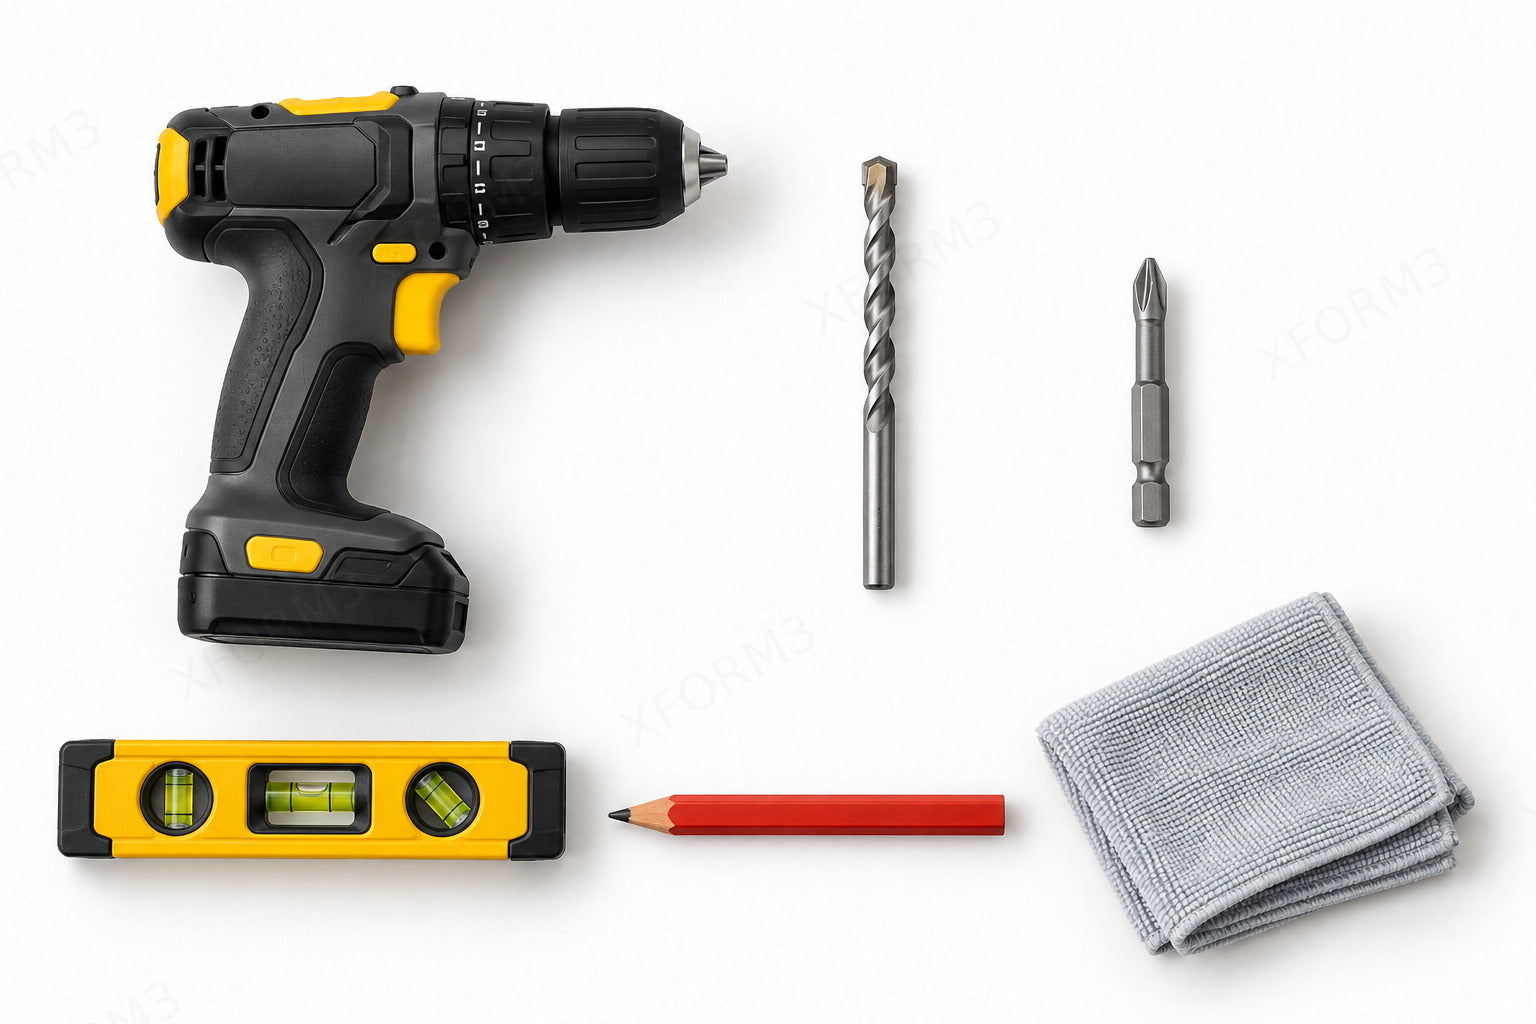
Tools to have ready
Use the bit and driver that match your actual hardware.
1Drill
2Correct drill bit
3Matching driver
4Level
5Pencil
6Soft microfiber cloth
A square drive or cross drive screw may be supplied. Use its matching driver.
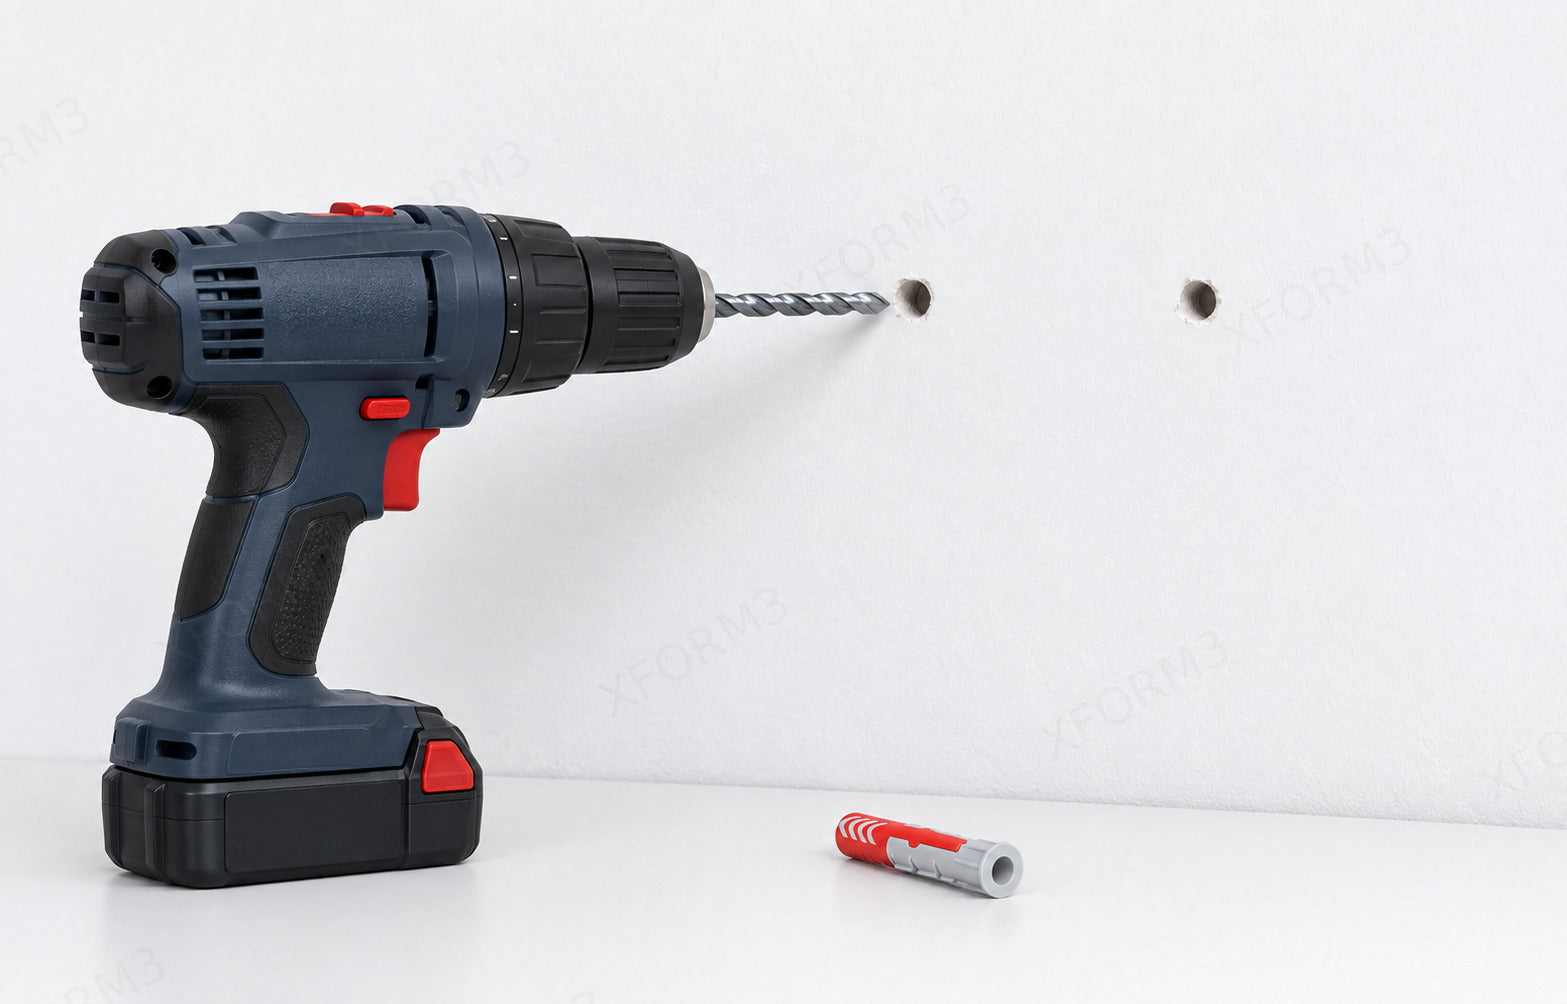
Anchor sizing: If using the Fischer DuoPower 8 × 40 anchor, use an 8 mm (5/16 inch) drill bit and a hole at least 50 mm deep. Follow the anchor maker's directions for your wall material. Check for concealed wires and pipes before drilling.
Installation
Follow these steps
Expose the mounting lip while keeping the shelf faces covered.
1
Keep the protective film on
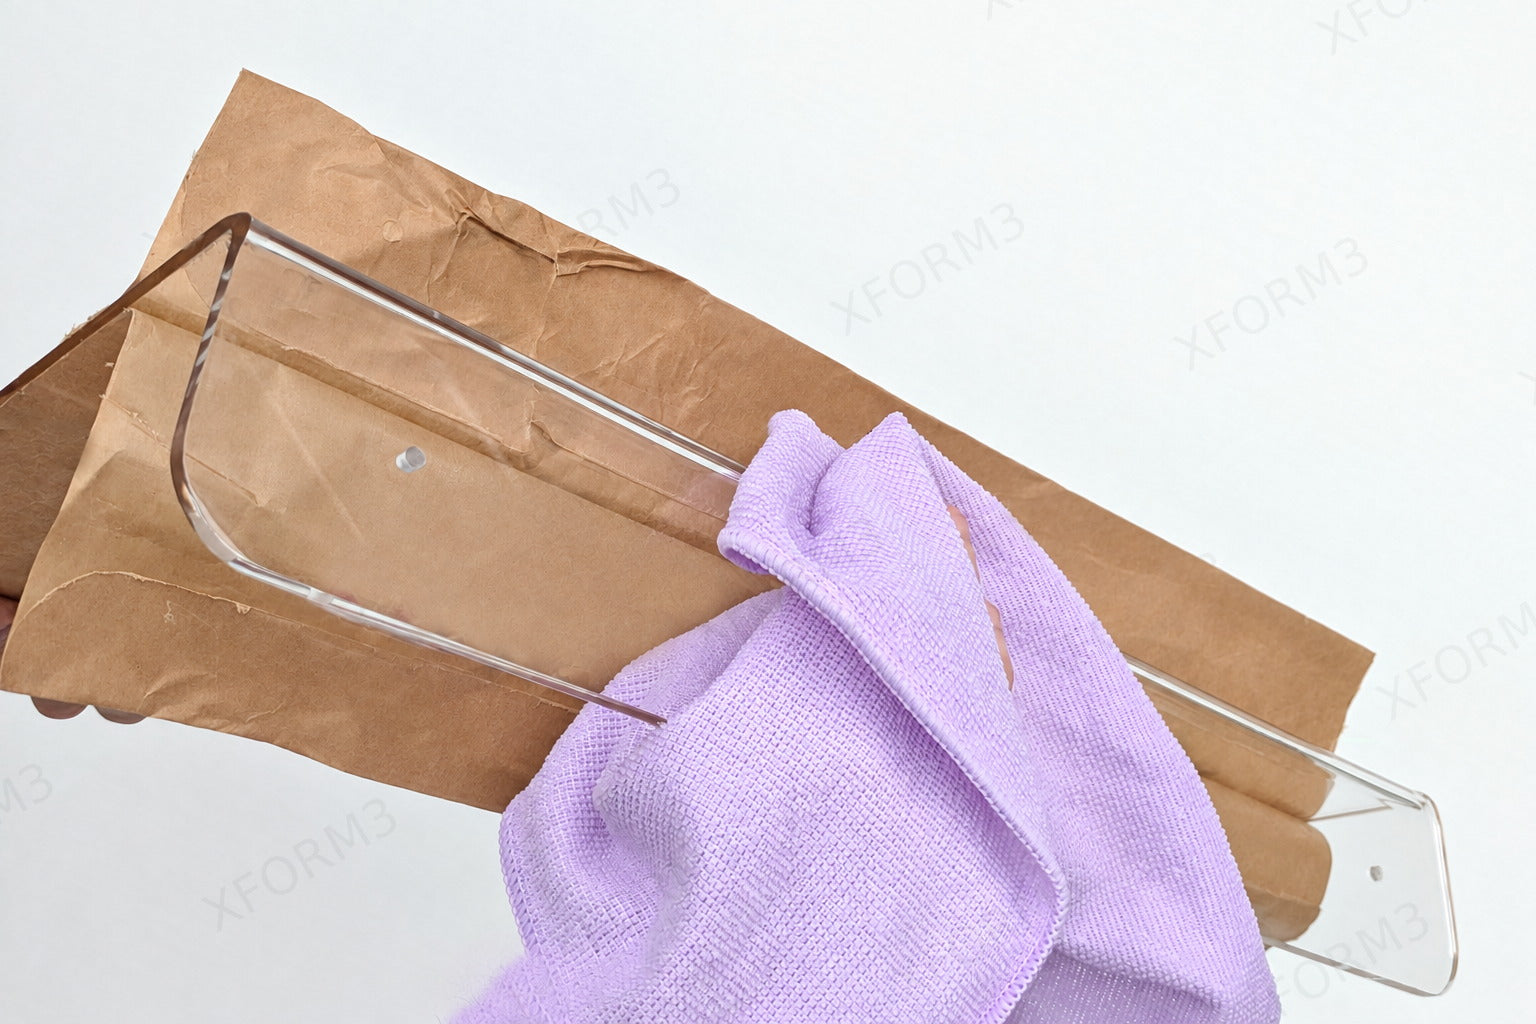
Leave the film on both shelf faces during installation. Peel it back only around the mounting lip, on top and underneath as needed, so the lip can sit cleanly against the wall.
Wipe the wall-facing surface before mounting.
2
Clean the back of the mounting lip
Use a soft cloth to remove dust from the surface that will touch the wall.
Use the holes in your shelf to mark the wall.
3
Position and mark the holes
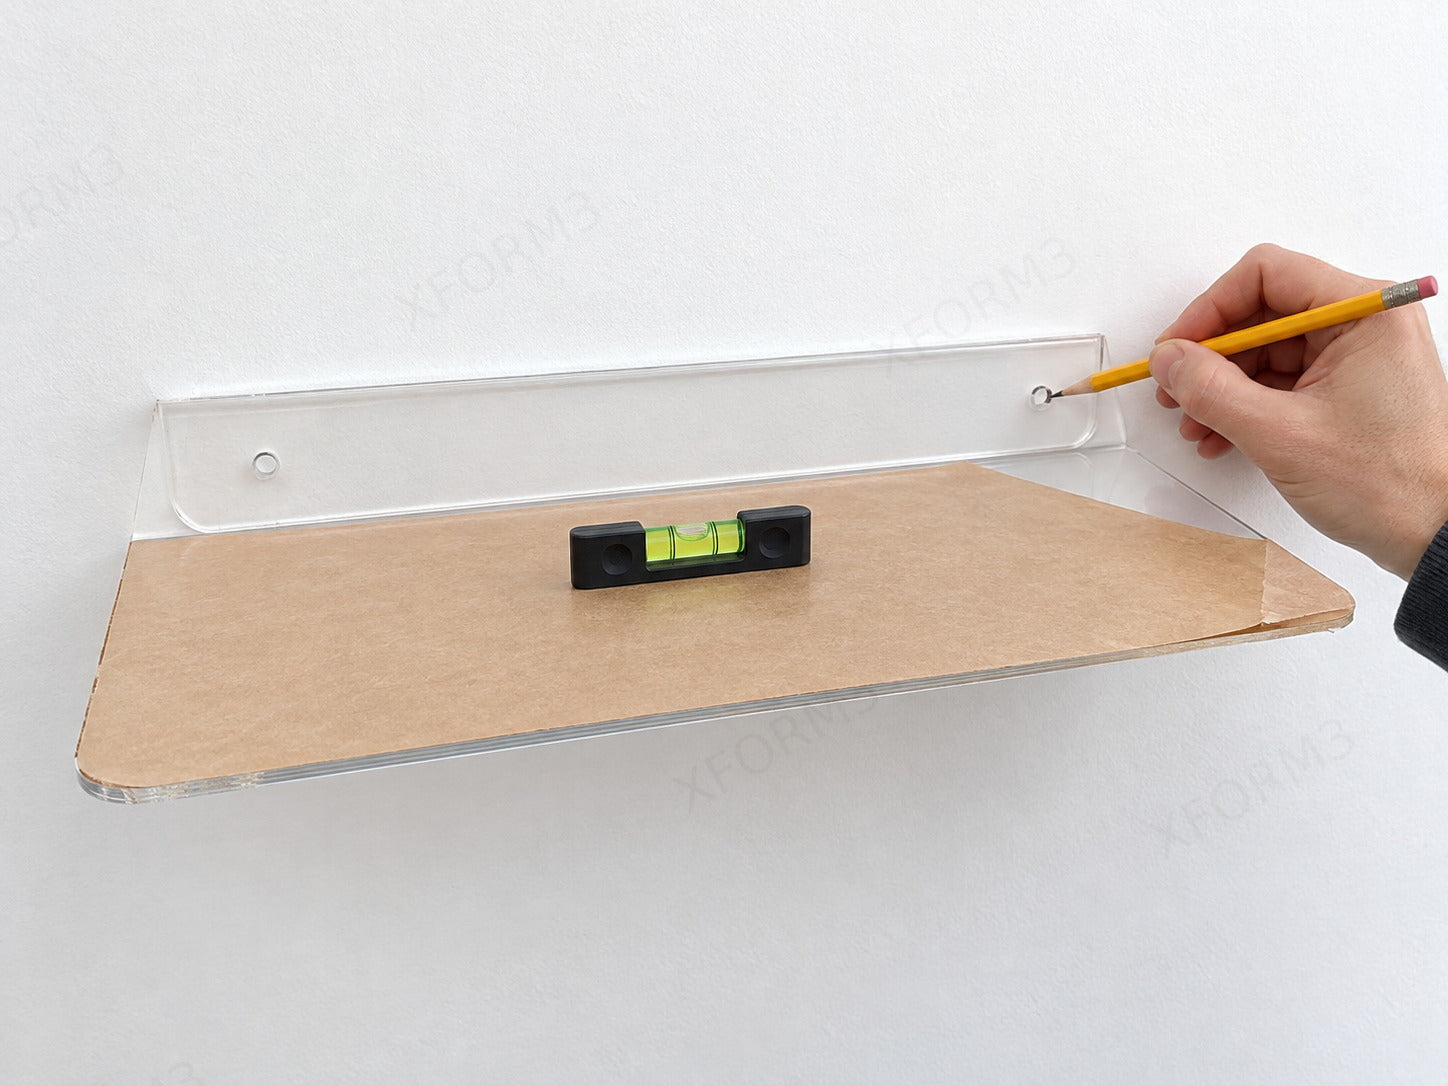
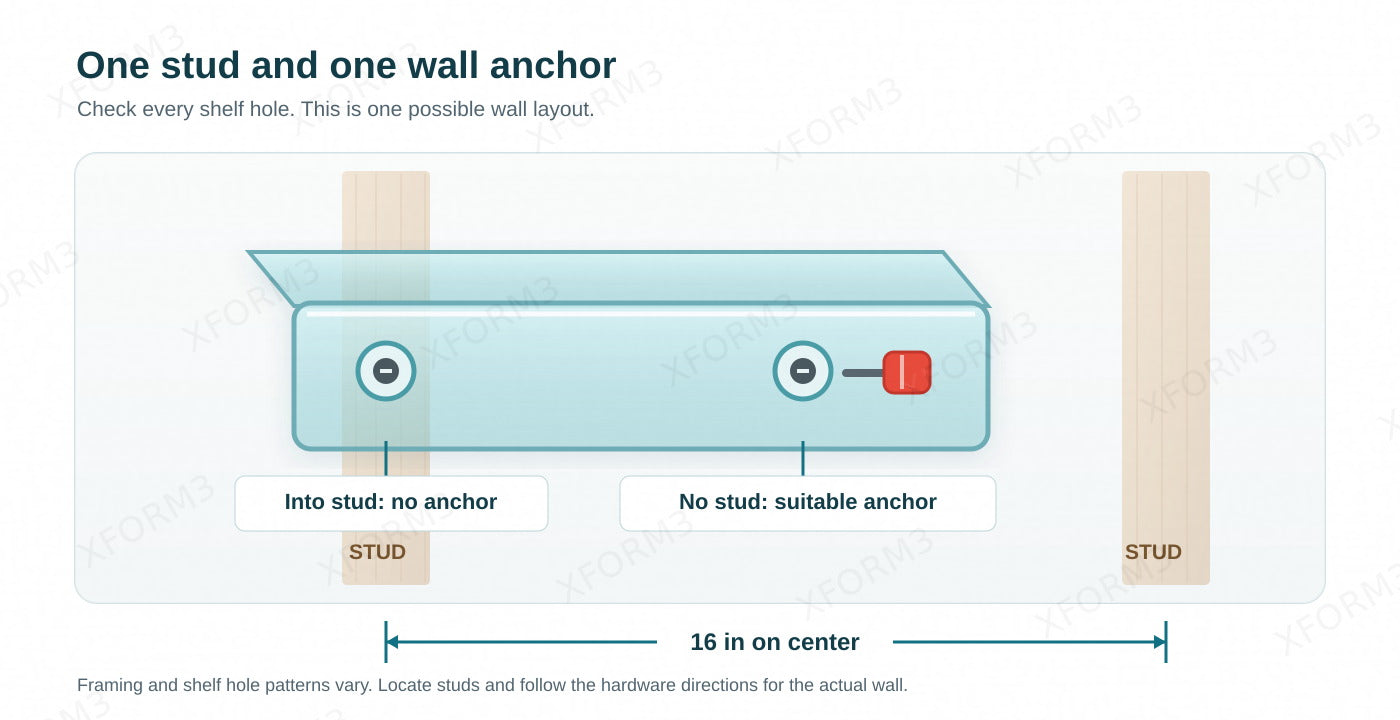
Hold the shelf at the desired height. Set a level on it, then mark the wall through each mounting hole. Where shelf length allows, standard holes are positioned for 16 inch on-center studs. Check the actual hole pattern on your shelf. If one hole meets a stud and another does not, use the stud for one screw and a suitable wall anchor for the other.
Prepare the holes before returning the shelf to the wall.
4
Drill and set the anchors
Set the shelf aside. Prepare each marked hole for the wall and fixing at that position. For an anchor, drill to its required diameter and depth, clear the dust, and install it as the maker directs. For DuoPower 8 × 40, use an 8 mm hole at least 50 mm deep. A screw going into a stud does not use a wall anchor.
If only one hole meets a stud
Studs are commonly 16 inches on center, but framing and shelf hole patterns vary. Use a stud fixing where a shelf hole lands on a stud. At a hole without a stud, use an anchor suitable for that wall and the supplied screw.
Illustrative wall layout. Locate studs and verify each hole before drilling.
5
Fasten the shelf
Return the shelf to the wall. Seat the acrylic cup washer in the mounting lip, then pass the screw through its center and into the prepared wall fixing. Keep the screw head inside the cup.
✦
Clear drilling dust
Right before final tightening, blow or wipe dust from behind and under the mounting lip so it sits flat against the wall.
⚠
Do not over-tighten
Stop when the washer is seated and the shelf is secure. Extra turns can crack wall paint or acrylic, especially when driving into a stud.
Screw tip toward wall
Cup washer seated in lip
Cover cap last
Fit the cover over the secured screw head.
6
Fit the acrylic cover cap
Align the cover cap with the washer and press it over the screw head. If it does not seat, check the alignment instead of forcing it.
Peel the rest of the film only after installation is complete.
7
Remove the remaining film
Once the shelf is secure and the caps are in place, peel the remaining protective film from the shelf faces and edges.
After installation
Care and placement
Clean gently
Use a soft, non-abrasive microfiber cloth, dry or lightly dampened with water. Use a cleaner made for acrylic if needed. Avoid cleaners with abrasive or scouring compounds.
Check placement regularly
Keep the shelf visible and clear of traffic or play areas. If its edges become chipped or sharp, stop using it until they are repaired.